Gahzly’s guide to creating your store on the platform
Gahzly’s guide to creating your store on the platform
Gahzly’s guide to creating your store on the platform
Why e-commerce for stores and companies?
Selling online can help your business reach new markets and increase your business sales and revenue.
If you are interested in generating your sales, you can use the Internet to find sales leads
, and announcing calls for tender and displaying products for sale either through the Jezli website
The following section is intended solely to provide guidance to bidders on the registration process on the Jezli website.
This guideline is subject to change from time to time depending on the development of the portal.
Sellers are advised to keep checking the latest guidelines from the website to keep themselves updated.
They can also contact the help desk to seek clarification on any point.
Gahzly’s guide to creating your store on the platform
The seller registration form from Gahzly is in this section. Requires first name, last name, user name, store address, and phone number
1- To get started, you must first register on the Gahzly website and go to my account page or create an account

2- Click on the “Open your store in Jezli” link. Within the “My Account” registration form
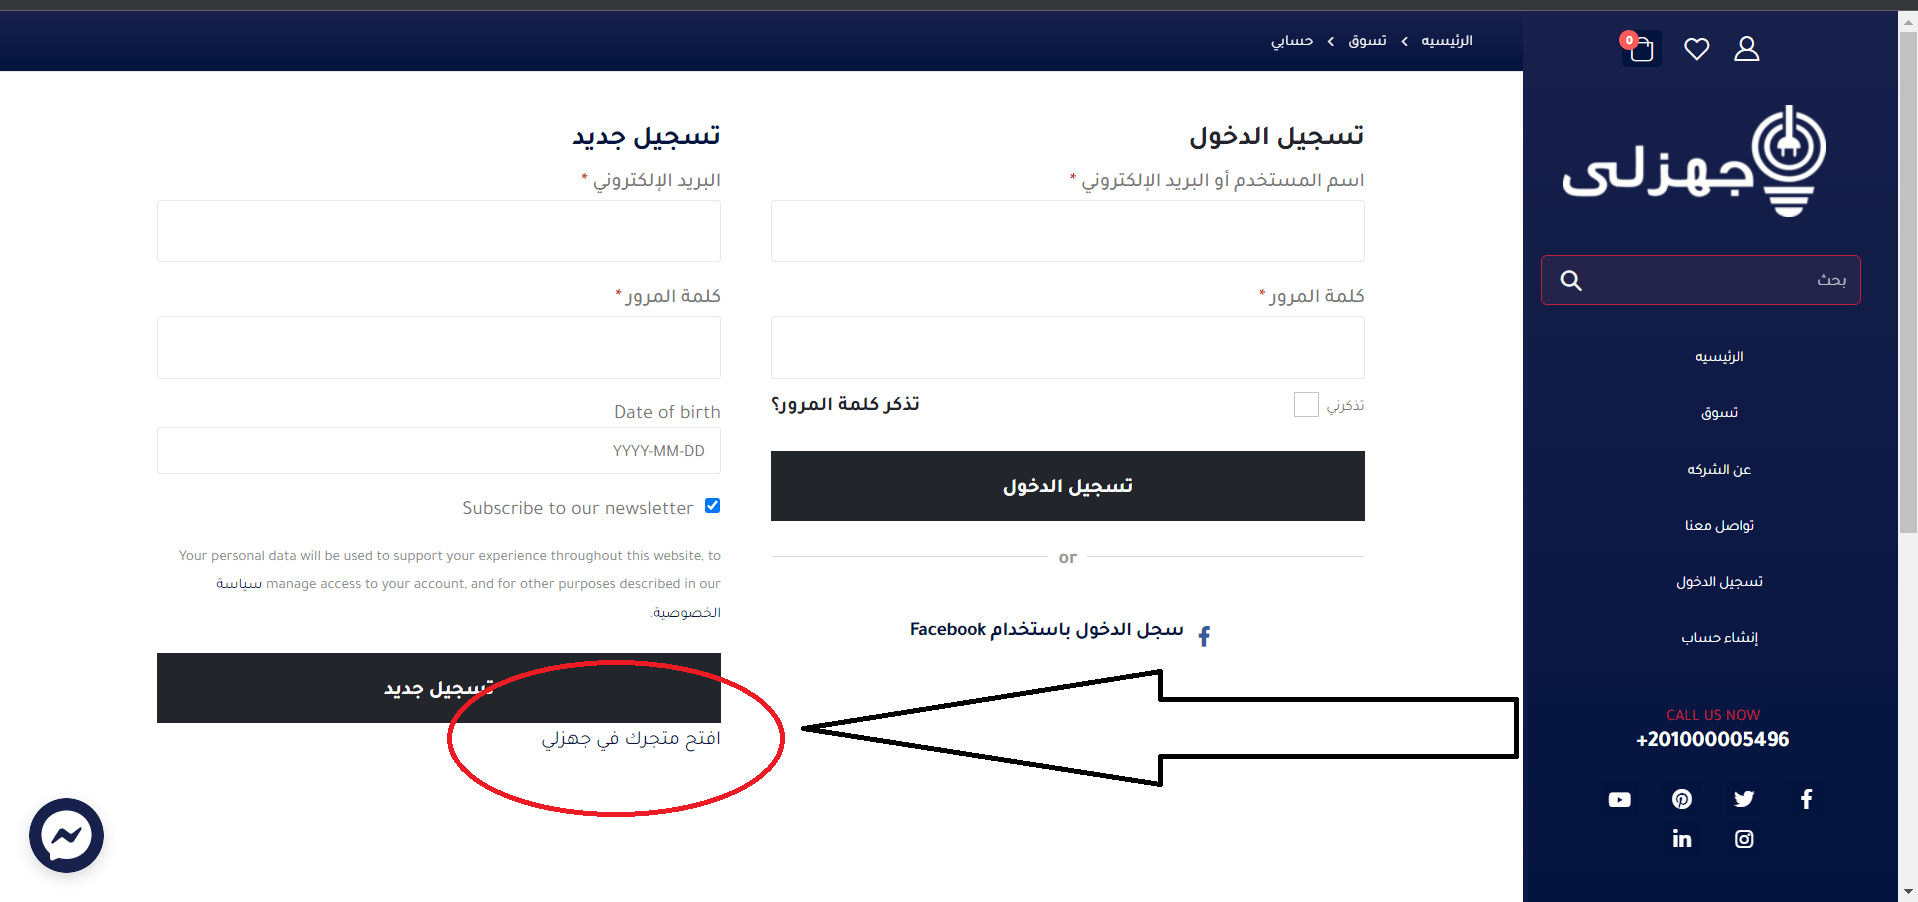 3- Choose the subscription plan you want to subscribe to
 4- After choosing the business plan, you will have to fill out the seller registration form (you must take into account the choice of the store name as it cannot be changed in the future and is visible to customers)
Note: The seller name must be unique and identify the name used throughout the store. If the name is taken, an error will be returned after the form is submitted.
1) Email – Register the user’s email id.
2) Store Name – Enter the name of the store you want to display on the site.
3) Password – Enter a strong password and click Register.
 5- Confirmation
 6- After filling out and submitting the seller registration form above, the “seller” will Receive an email
(Email ID must be provided at the time of filling this form) Contains all its data as it should.
 Once the vendor submits the form, the vendor admin receives an email notification that the vendor has applied it and a vendor account is created for the vendor.
The pending vendor is assigned a status/role until the vendor administrator approves the registration and applies a different role.
7- The seller then receives an email stating that his application has been approved, along with his username and password.
They can start setting up and managing their store.
It is crucial to any marketplace how sellers will set up their stores!
My gear will give you the easiest and quietest one here too.
It will take any seller less than 5 minutes to set up their store.
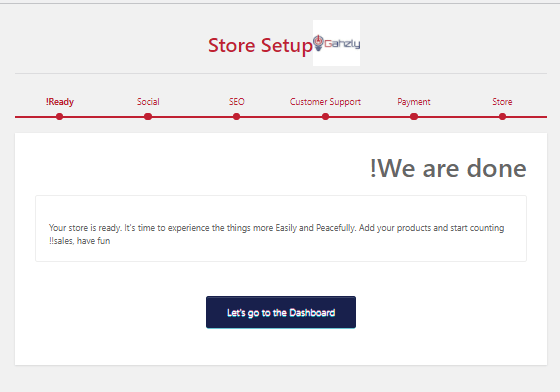
 When a seller first logs in to their store, they will have a “Store Setup” tool.
This will give them an option to set up the basic store initially.
 8- Store registration settings
 If any seller skips the setup tool or wants to change any store setting in the future, they can easily do that from their control panel as well.
Just have to go to the dashboard -> Settings
 The Seller Setup page always displays a profile completion progress bar at the top of the Store Settings page.
 It also displays the remaining setup suggestions. This will make the seller’s life easier and give them the right direction to set up their store.
Setup options are categories to give an overview of the setup for any purpose. Available settings categories –
a store
to push
shipping
THIS
Customer support
Store invoice
Vacation mode
The “Store” page will be given Sellers set most essential parts in their store –
- Slogan
- Signboard
- Store name
- Alloy storage
- Store phone number
- Store address
- Store location
 The seller may designate a different type of signage for their store!
Available logo types –
Still image
Image slider
Banner video
The seller may set up what he wants to show or hide from his store!
They can also manage the position of “Store Name” On the store page. Available jobs –
Sign on the store
In the store address
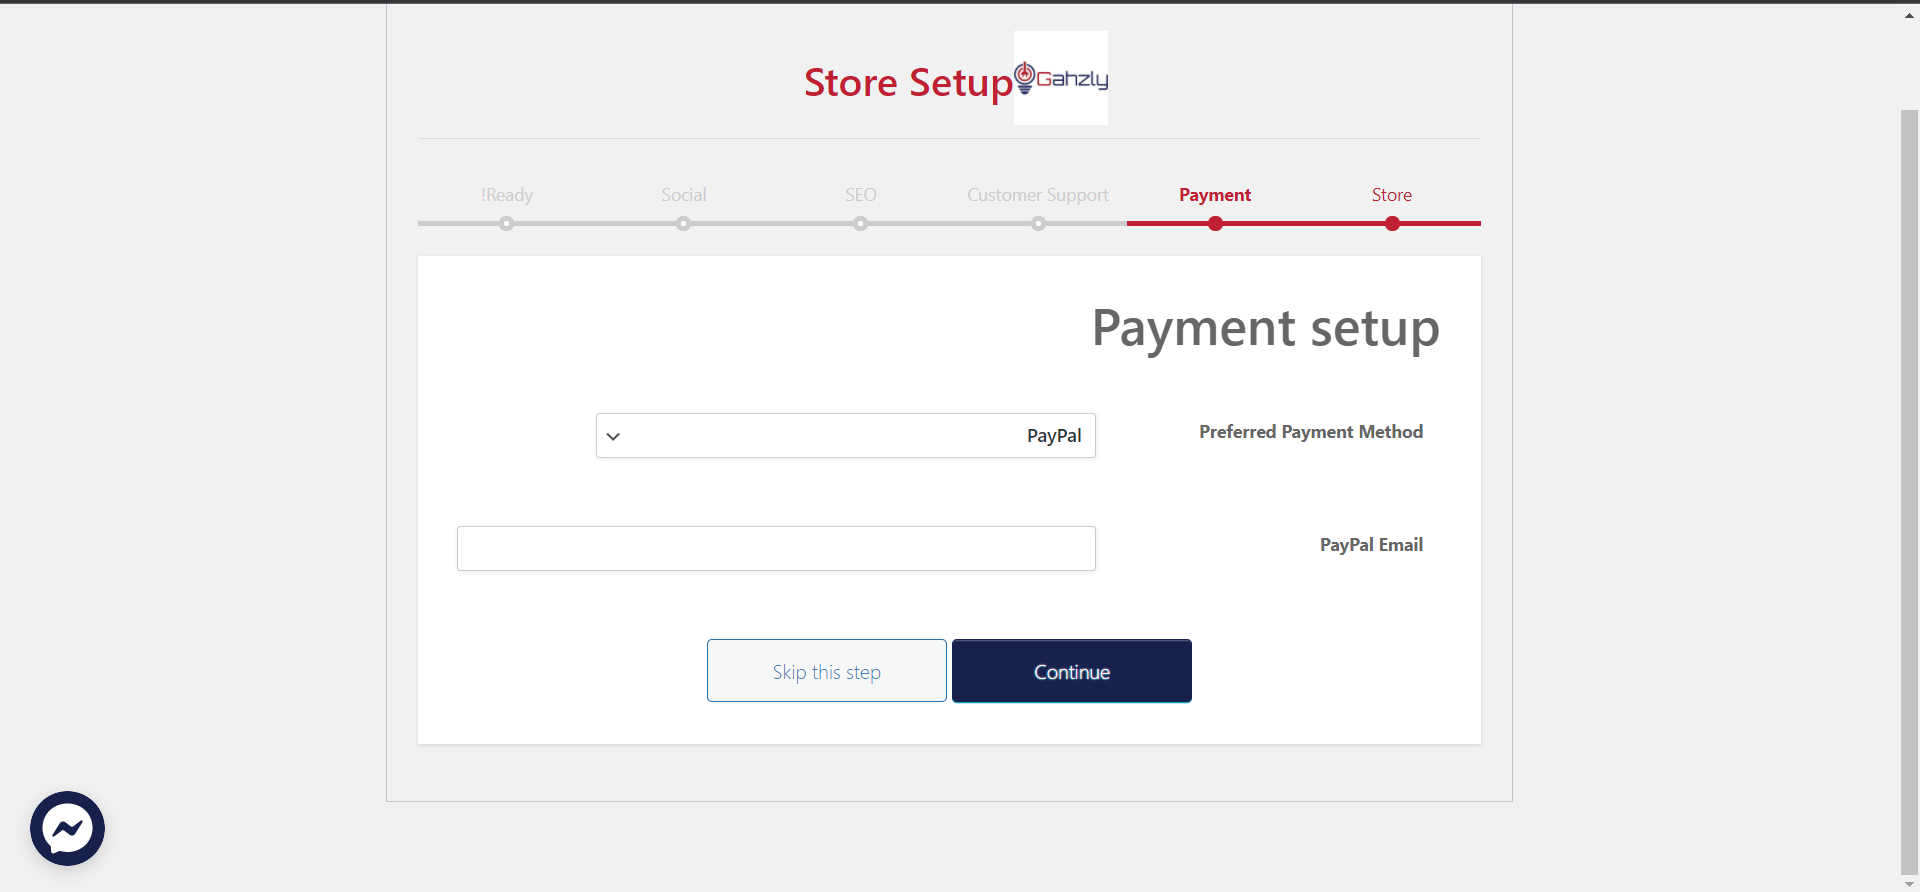 Payment is also very necessary because without setting up payment the seller will not be able to withdraw his commissions.
Payment methods are available according to the payment options allowed by your admin setting -> to withdraw
Sellers can set up their store shipping with all available options from here.
 Seller may set customer support information separately.
Support address
Support email
Support phone
This information is available to customers who have a seller’s product on their order details and store invoice.
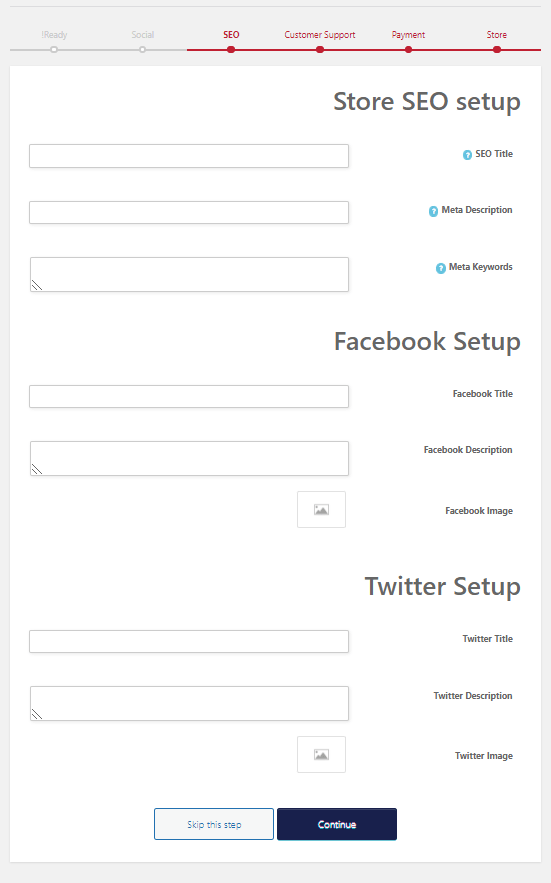 A seller may set social and SEO settings associated with their store from here.
SEO title
Meta description
Semantic words
Facebook address
Facebook description
Facebook photo
Twitter address
Twitter description
Twitter image
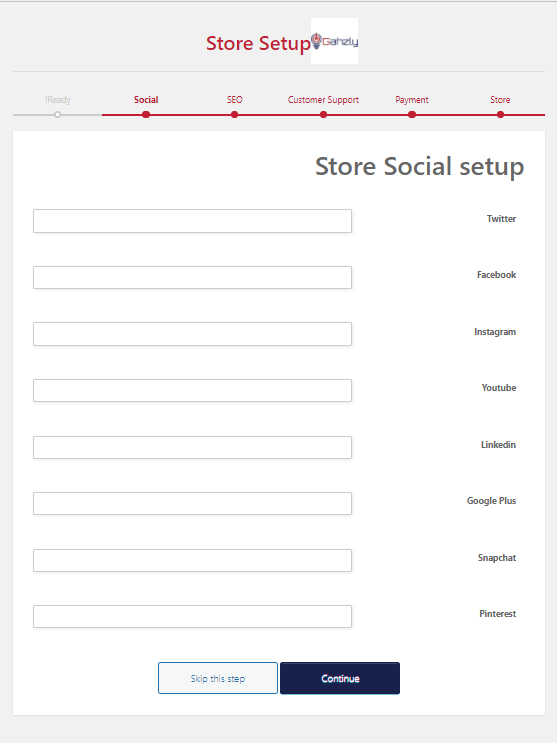 Linking different social media accounts
 .
.
.

Guide Gahzly to create your store on the platform
We are pleased that you visit our social media pages, where we publish exclusive offers on our website.
Our Facebook page Here.
Our Twitter account Here.




Leave a Reply
You must be logged in to post a comment.